Tag

DIY

Browsing

I’ve admitted it here before: I’m a dedicated DIYer. Pinterest is a huge playground for me, and I scout craft shows for ideas I can try at home. Like most Martha Stewart wanna bes, I leave a lot of projects undone. It can turn out to be an expensive past time.

After years of this back-and-forth, I’ve realized one important few thing: sometimes DIY is more expensive — in money and time. That’s why I included the following in my book, Math for Grownups. Yes, the example is based on my own, personal experience, except that the ending turned out differently. (The obscure character? Luna of Harry Potter fame.) Had I really thought it through before heading to Joann’s Fabric, I would have saved myself some cash and a lot of time.

Rita loves Halloweʼen, and she loves making her kidsʼ costumes. This year, her 10-year-old daughter has requested a velvet-like cape and gown so that she can dress as some obscure character from her favorite novel about magical kids.

The pattern Rita is using calls for 7 yards of fabric, 2 fancy fasteners, and 3 yards of fringe. Looking at the Sunday circular for the local fabric store, she sees that crushed panne velvet is on sale for $2.99 per yard and the fringe is priced at $4 per yard. Rita guesses that the fasteners are about $5 each. To estimate her costs, she adds everything together:

(7 • $2.99) + (3 • $4) + (2 • $5)

(In case you lost track, that’s 7 yards of fabric at $2.99 per yard, 3 yards of fringe at $4 per yard, and 2 frog clasps at $5 each.)

$20.93 + $12 + $10 = $42.93

A terrifying price!

Rita is starting to think that a trip to a thrift shop might be a better investment of her time and money. Sometimes doing it yourself just isn’t worth it.

Do you have any scary costume stories? How have you learned to save money while DIY and celebrating Halloween?

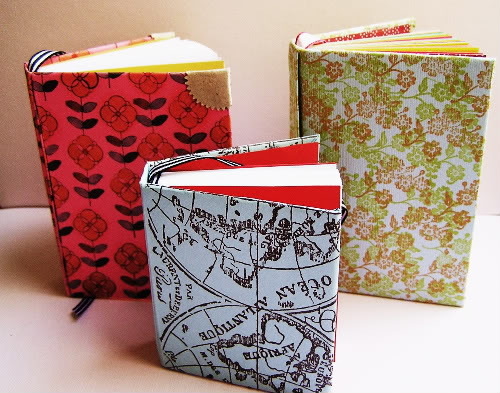
Whether for graduation or summer camp or a great trip, a memory book or journal can be a nice way to remember a special time. And since I’m currently addicted to Pinterest, I’ve been browsing tutorials–from simple booklets to fancy, bound books. And then there are flower-pressing books and books constructed with homemade paper. The options are endless. (And they’re all so inspiring!)

From my days as my high school yearbook editor, I know that there’s a little formula used to find the number of pages that a book can have. If you need to have a certain number of pages (at least), you’ll need to employ that tidbit of information. But first you must know how many pages you’d like to have in your book.

Your teenager is headed off for a two-week long camp in the woods. She loves to write in a journal, and you’d like to make her a special book to take with her. If she uses three pages per entry, how many pages does her journal need to have?

Let’s assume she’ll be journaling every day of her two-week stay. And let’s assume that she’s leaving on the last day. So that means she’ll journal for a total of 13 days (that’s two weeks, minus one day), and she’ll need a total of 3 • 13 or 39 pages.

But here’s where you’ll need a little book-making insider information. Books are actually made up of signatures, which are sets of folded paper. You can put as many pieces of paper you want in a signature, and you can put as many signatures you want in a book — but the resulting page count will always be a multiple of 4.

(Don’t panic if you don’t remember what a multiple is. Look carefully at the word. You’ll probably notice that multiply is a root, which may cause you to think of multiplication. You’re on the right track. A multiple is a product of two numbers. So the multiples of 4 are: 4, 8, 12, 16, 20, etc. That’s because 4 • 1 = 4, 4 • 2 = 8, 4 • 3 = 12… well, you get the picture.)

In your book, the number of pages must be a multiple of 4, and you need at least 39 pages. Your first question: Can my book have exactly 39 pages? Nope. That’s because 39 is not a multiple of 4.

You need to find a number close to 39 that is a multiple of 4, and you have two obvious choices: 36 (4 • 9) and 40 (4 • 10). Of course, you’re going to chose 40; otherwise, your daughter won’t have enough pages in her book. (Better to have too many than not enough.)

Now you can decide how to create your signatures. I leave those details to the experts. Besides, you need to choose a book style first. Take a look at these great resources I found on Pinterest. Pick one, and have fun!

The Pioneer Woman Makes a Book (from a granola bar box)

Mini Jotter How-To from The Guilded Bee (by way of oh hello friend)

Photo Courtesy of oh, hello friend and The Guilded Bee

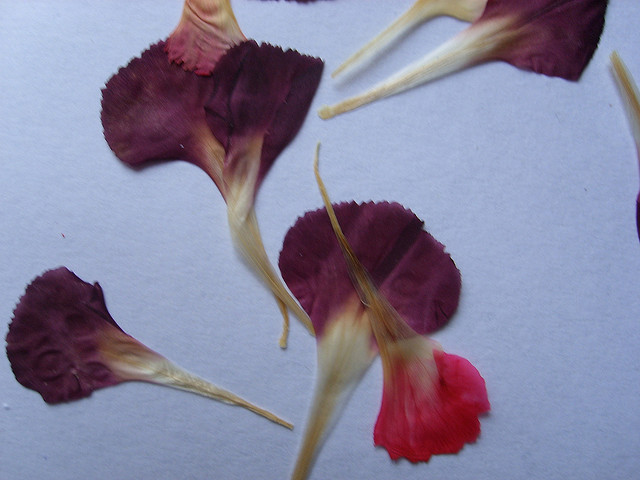
Flower Pressing Book from Family Fun

Photo courtesy of Siona Karen

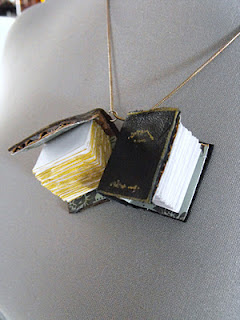
Teeny-Tiny Leather Spell Book from Ruby Murray

Photo courtesy of Ruby Murray

Rainbow Art Book

Have any tips for making memory books? Share them in the comments section!